Monday, June 16, 2014

vacation wall addition


Every year when we go on vacation I take alot of pictures. I decided when we remodeled our screened-in porch that I was going to start a vacation wall. I thought I would add 1 or 2 pictures each year. I always pick up cheap unusual frames in the summer at yard sales, and I never pay over a $1.00 for the frame depending on how much I like it. One of last years vacation was just "us girls." My daughter, granddaughter and sister #4 headed to Rehoboth Beach in Delaware. We were only gone 4 days but we made alot of great memories. Here's a couple additions to the vacation wall for the Summer of 2013. This is definitely a tradition that I'm keeping up with.

Monday, June 9, 2014

cheap frame = great memories

I picked up this frame at a yard sale last summer for $3.00. I thought it would be perfect to use for a collage of all our boat pictures. When I was putting it together I decided that instead of just showcasing US I would take a picture of everyone that joined us on our first year of boating. I was pleasantly surprised with all the fun pictures that we captured. Now everytime I look at that collection of pictures I remember how much fun we had floating down the River on our Pontoon. Stay tuned for more boat pictures and stories for the Summer of 2014.

Friday, June 6, 2014

My Loves

Just two of my favorite things in this world, our boat and our puppy. This was Windsor's first time on the lake this season. The weather was absolutely perfect in Western Pennsylvania this weekend.


Wednesday, June 4, 2014

update to my new summer dress

A few days ago I posted a refashion of a new summer dress made from two old shirts. I told you I was planning to use the band from the printed shirt to make a belt. I didn't take any pictures of the process but it was very simple. I just folded the strip right sides together and sewed a straight seam the length of the band. Turned it right side out and just slid it over a brown leather belt that I already had. It's not permanent, so I can slide it off and wear my leather belt without the sleeve on it. Here is a picture of me wearing my new dress before work one day. It was about 4:45 a.m. and I woke hubby up to take my picture so I could show you all how it looked. He thought that I had lost my mind. So many times after a refashion he takes my picture with no makeup and ugly hair and I just don't want to post it. This one was blog-acceptable.

Friday, May 30, 2014

New Summer dress for free

My newest addiction is to refashion old clothes in my closet to something new to wear. For this upcycle I took 2 shirts that I've had for about 2 years each, cut them sewed them together and I now have a new summer dress to wear to work or out to dinner.

I removed the band at the bottom of the shirt by using my seam ripper.  I'm planning to make a belt from the piece.


Here's the bottom of the shirt without the band.


I cut the top of the shirt right under the arm hole to use for the bottom of my new dress.

Here is the finished product.  Now I have a new dress that I can wear to the office with a cute pair of shoes.  I love it. 

Come join the party at: Photobucket

Monday, May 26, 2014

free custom frame


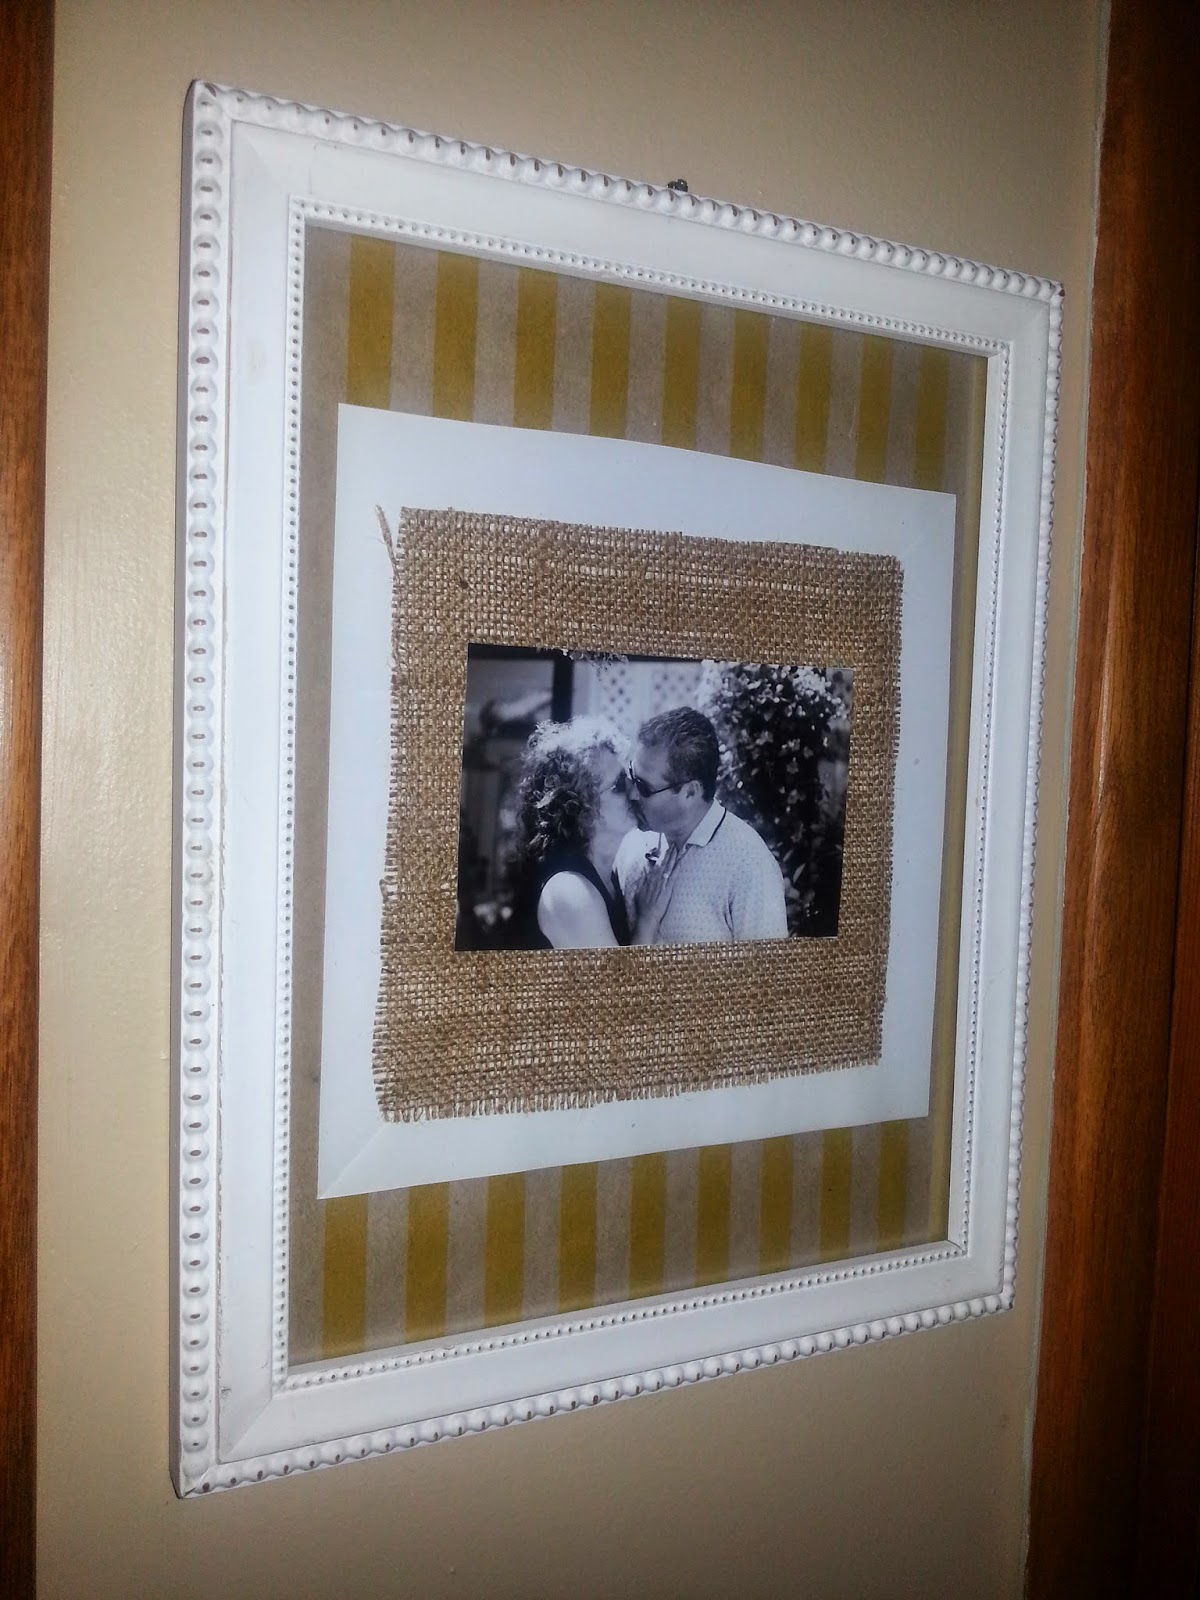
I love free stuff, who doesn't right? My husband picked up this frame for me before it hit the dumpster at his sister's house. I just love that man. I took the frame apart and added a few touches to customize it for our bedroom. I found this wrapping paper at dollar tree a few months back and loved the colors. I'm using alot of yellow in our bedroom now and I loved the natural color because it reminds me of burlap. After he brought the frame home, I had a great plan to update it for our bedroom with one of my favorite pictures of us taken years ago on a trip to Rhode Island. This is a very simple update. I wrapped the bottom part of the frame with the wrapping paper and just cut a piece of burlap a little larger than the actual picture. I cut the white paper that comes inside the frame a little larger than the burlap. I guess you would say I layered it.
come join the party at: Photobucket

Wednesday, May 21, 2014

night stand update

I was the lucky recipient of this old night stand from sister number 3. It definetly needed some love but was a very solid piece. Here she is before.


I needed a side table in my home office to hold my shredder, extra paper for my printer  and my extra forms and junk that I don't like cluttering up my desk.  I painted the entire table black and used the original hardware.  I added a protective placemat to the top and the inside shelf just so my office supplies and shredder wouldn't scratch the newly painted table. I bought the placemats at the dollar tree and trimmed them to fit.

Here the finished product.  It works perfect in my home office.